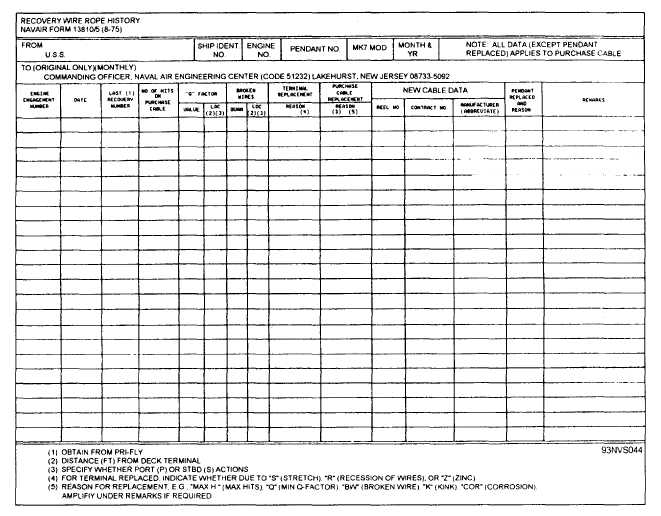
Figure 3-44.—Recovery Wire Rope History chart (NAVAIR Form 13810/5).
fairlead pipes and wrap around the sheaves before
pulling in the purchase cable.
2. To thread the cable through the deck and
fairlead sheaves, remove the sheave covers and pull
out the sheaves. Push the cable through the fairlead
pipes from sheave housing to sheave housing. Then
slip the cable into the sheave groove as the sheave
is replaced in the housing. When the cable is fully
threaded, replace the covers.
3. In reeving the engine, use only the original,
approved reeving pattern.
Study the reeving
diagram in the applicable NAVAIR maintenance
manuals, and be careful to pass the cable over the
sheaves in the approved sequence and through the
appropriate fairleads and guides.
4. After the cable is reeved, the next step is to
connect the anchor end of each length. Then the
cable must be stretched taut to determine the
correct location for the terminal
end.
of the opposite
New cables acquire a stretch over the course of
the first several engagements. This lengthening of
cables decreases the distance between crosshead and
crosshead stop in the BATTERY position, and this
in turn increases the fluid capacity of the hydraulic
system and makes it necessary to add fluid to
maintain the fluid level.
If the distance from
crosshead to crosshead stop in the BATTERY
position becomes less than the minimum allowable
clearance of 1 inch between the crosshead and the
crosshead stop, it becomes necessary to crop the
cable and repour a terminal to readjust the
clearance to 7 inches between the crosshead and the
stop. The clearance between the crosshead and
crosshead stop with newly installed purchase cables
is set at 9 inches. New purchase cables will stretch
very rapidly during the first few arrestments. The
initial 9-inch dimension between the crosshead and
3-49


